
17November 2026
In an older downtown home, the wall is rarely just drywall
Open a wall in a Victorian semi in Cabbagetown and you may not find drywall at all. Many downtown Toronto homes built before the Second World War were finished in lath and plaster — thin wood strips nailed to the studs, coated in layers of plaster that hardened into a solid, heavy wall. Later renovations added drywall over some rooms, patched others with modern board, and left a few walls exactly as they were a century ago. A house in Leslieville or Riverdale can easily hold all three in a single hallway.
That mix is why drywall repair in older downtown homes is not the same job as patching a condo in Liberty Village or King West. What sits behind the paint decides how a crack, hole or stain should be repaired, how it will blend, and whether it stays repaired. This guide covers how to tell what you are dealing with, which problems are cosmetic and which are warnings, and what a proper plaster-era repair involves.
How to tell plaster from drywall — and why it matters
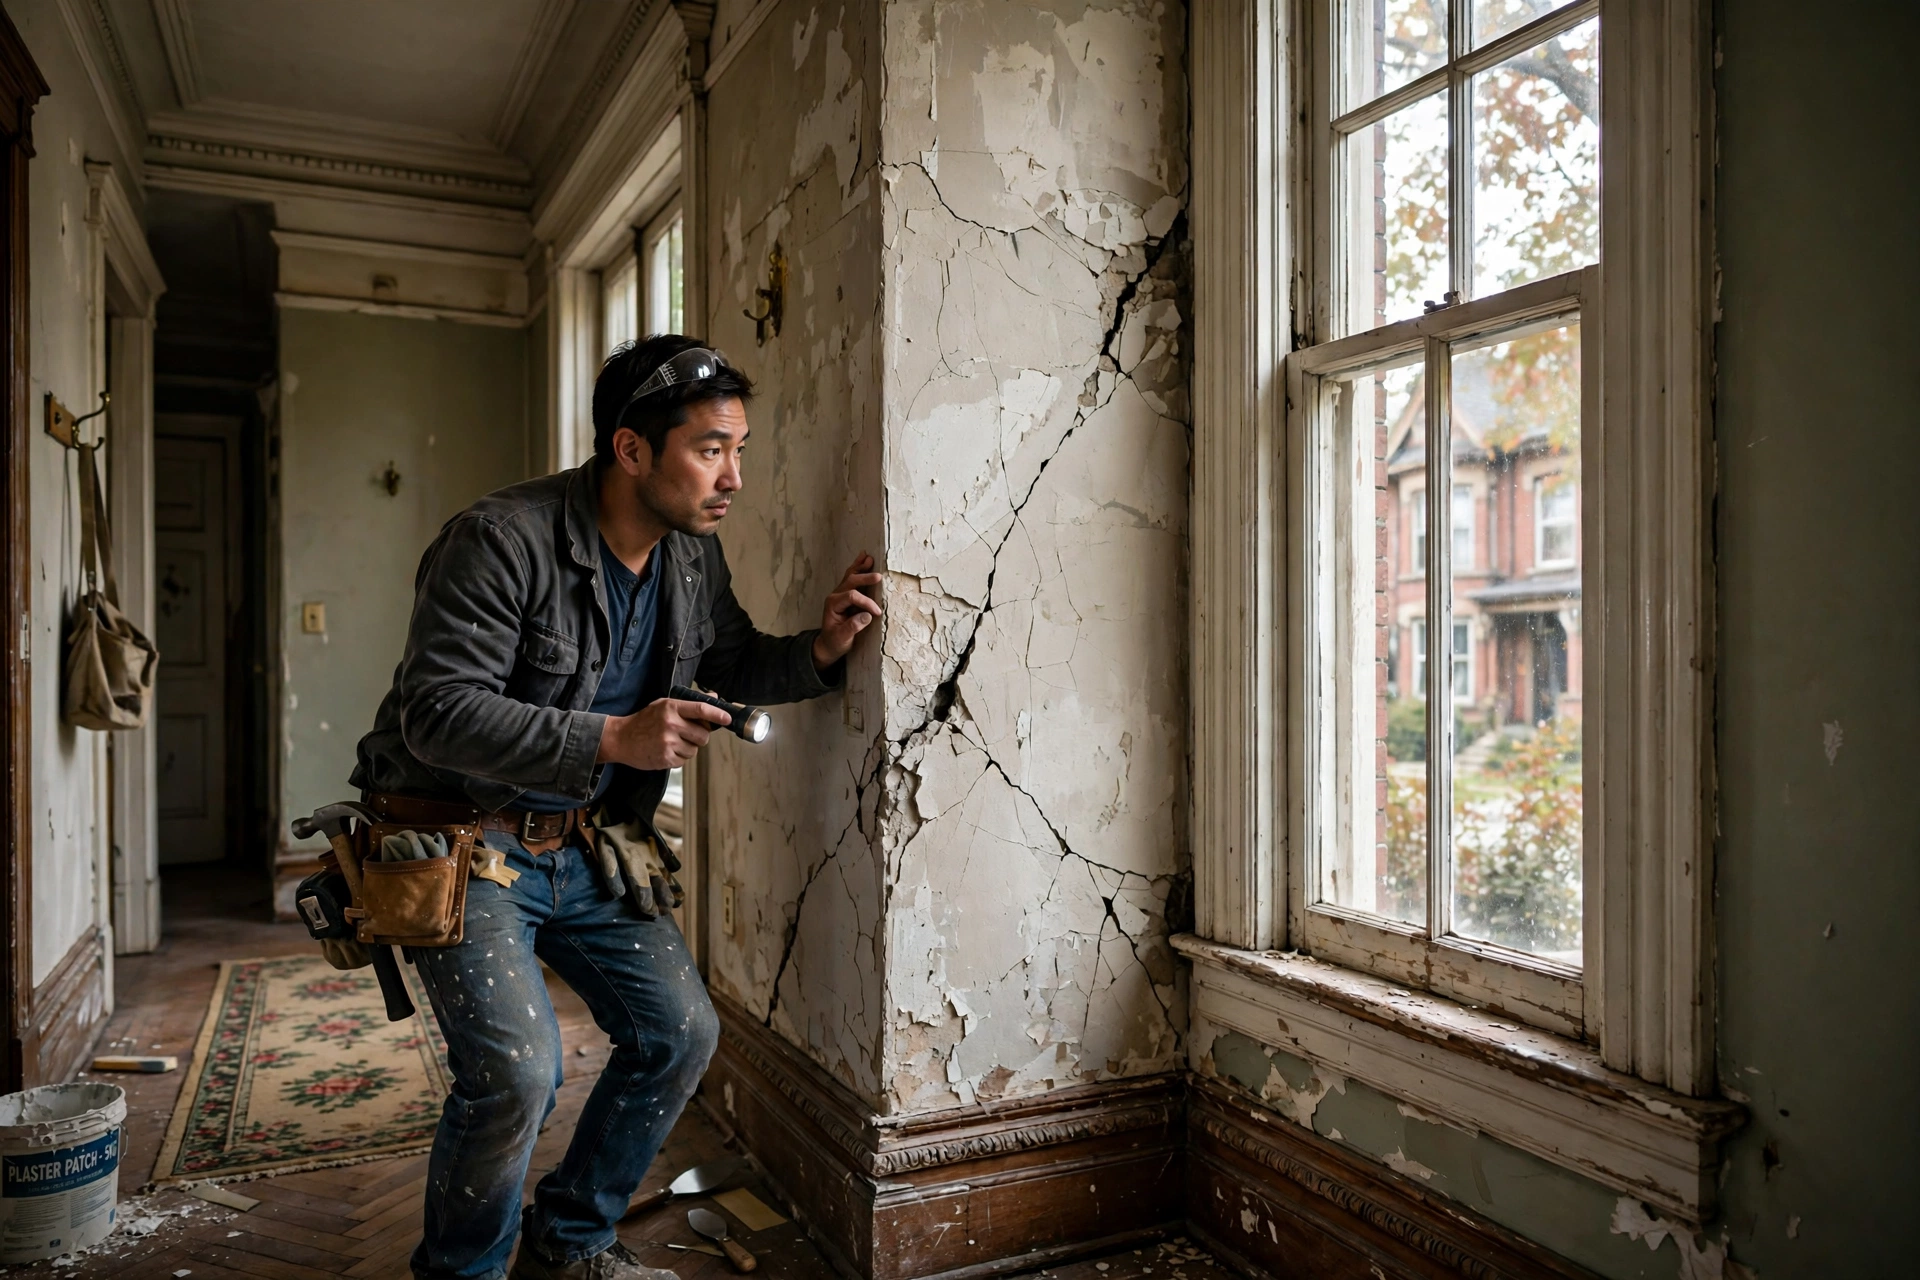
A simple knock tells part of the story. Drywall sounds hollow and gives a little under a knuckle. Lath and plaster feels hard, dense and cold, and sounds solid. Push a thumbtack into an inconspicuous spot and the difference is clearer still: it slides into drywall, and resists or crumbles plaster. Thickness is another clue at a doorway or an exposed edge — plaster-era walls are often noticeably thicker and less even than a modern boarded wall.
It matters because the two materials fail and accept repairs differently. Drywall is a uniform board: cut out the damage, fit a new piece, tape, fill and sand. Plaster is a layered coating over lath: a patch has to bond to an uneven, sometimes loose base, match a thickness that varies across the wall, and cope with a surface that was troweled by hand rather than manufactured flat. Forcing a thin modern patch into a deep plaster loss without building it up in layers is how a repair telegraphs through the paint as a visible dip or cracks again along the same edge by the next heating season.
Age brings two cautions worth naming plainly. Some older downtown homes contain materials from eras when asbestos was used in certain plasters, joint compounds, textures and insulation, and lead was common in old paint. A handyman patching a small, sound area is routine work, but breaking into a large area of suspect textured coating or disturbing material you cannot identify is a stop-and-check moment, not a push-through one. If there is any doubt about what a wall or ceiling contains, have it identified before it is cut or sanded — especially in a pre-1980s semi in the Annex or Queen West where layers from several renovations overlap.
The damage older downtown walls show most
Hairline and stair-step cracks. Fine cracks at the corners of doors and windows are the signature of a settled house. Toronto semis have moved seasonally for a hundred winters — clay soil, freeze and thaw, and a century of heating cycles open the same weak points each year. A stable hairline crack that returns in the same place is usually cosmetic. A crack that widens, runs diagonally in steps, or appears with a door that suddenly sticks is movement worth having looked at more closely before it is simply filled.
Doorknob holes, dents and furniture damage. Narrow hallways in Riverdale row houses and tight entryways in Cabbagetown semis concentrate knocks exactly where the walls are oldest. A doorknob through plaster does more damage than the same hit on drywall — the plaster keys break behind the surface, so the loose area is often larger than the hole you can see. Tapping around the damage to find where it sounds hollow is part of the repair, because filling only the visible hole leaves loose plaster to crack around the new patch.
Water stains and bubbling paint. A brown ring on a ceiling, paint bubbling along an upstairs wall, or plaster that feels soft to the touch points to water — a roof detail, a bathroom above, or old plumbing inside the wall. This is the one category where the order of work matters most: fix the source first, let the wall dry fully, then repair. Professional drywall repair on a stain that is still damp is paint over a problem, and the stain will work its way back through.
Crumbling, bulging or detached plaster. When plaster loses its grip on the lath — its keys broken by age, vibration or past water — the wall bulges, sounds hollow over a wide area, or sheds grit behind the baseboard. Small loose sections can sometimes be re-secured. Larger detached areas need the unsound material removed back to a firm edge and the depth rebuilt. This is judgment work: patch too little and the repair fails at its edges; strip too far and a one-room job becomes a whole-wall project that should be planned as one.
What a proper repair looks like, step by step
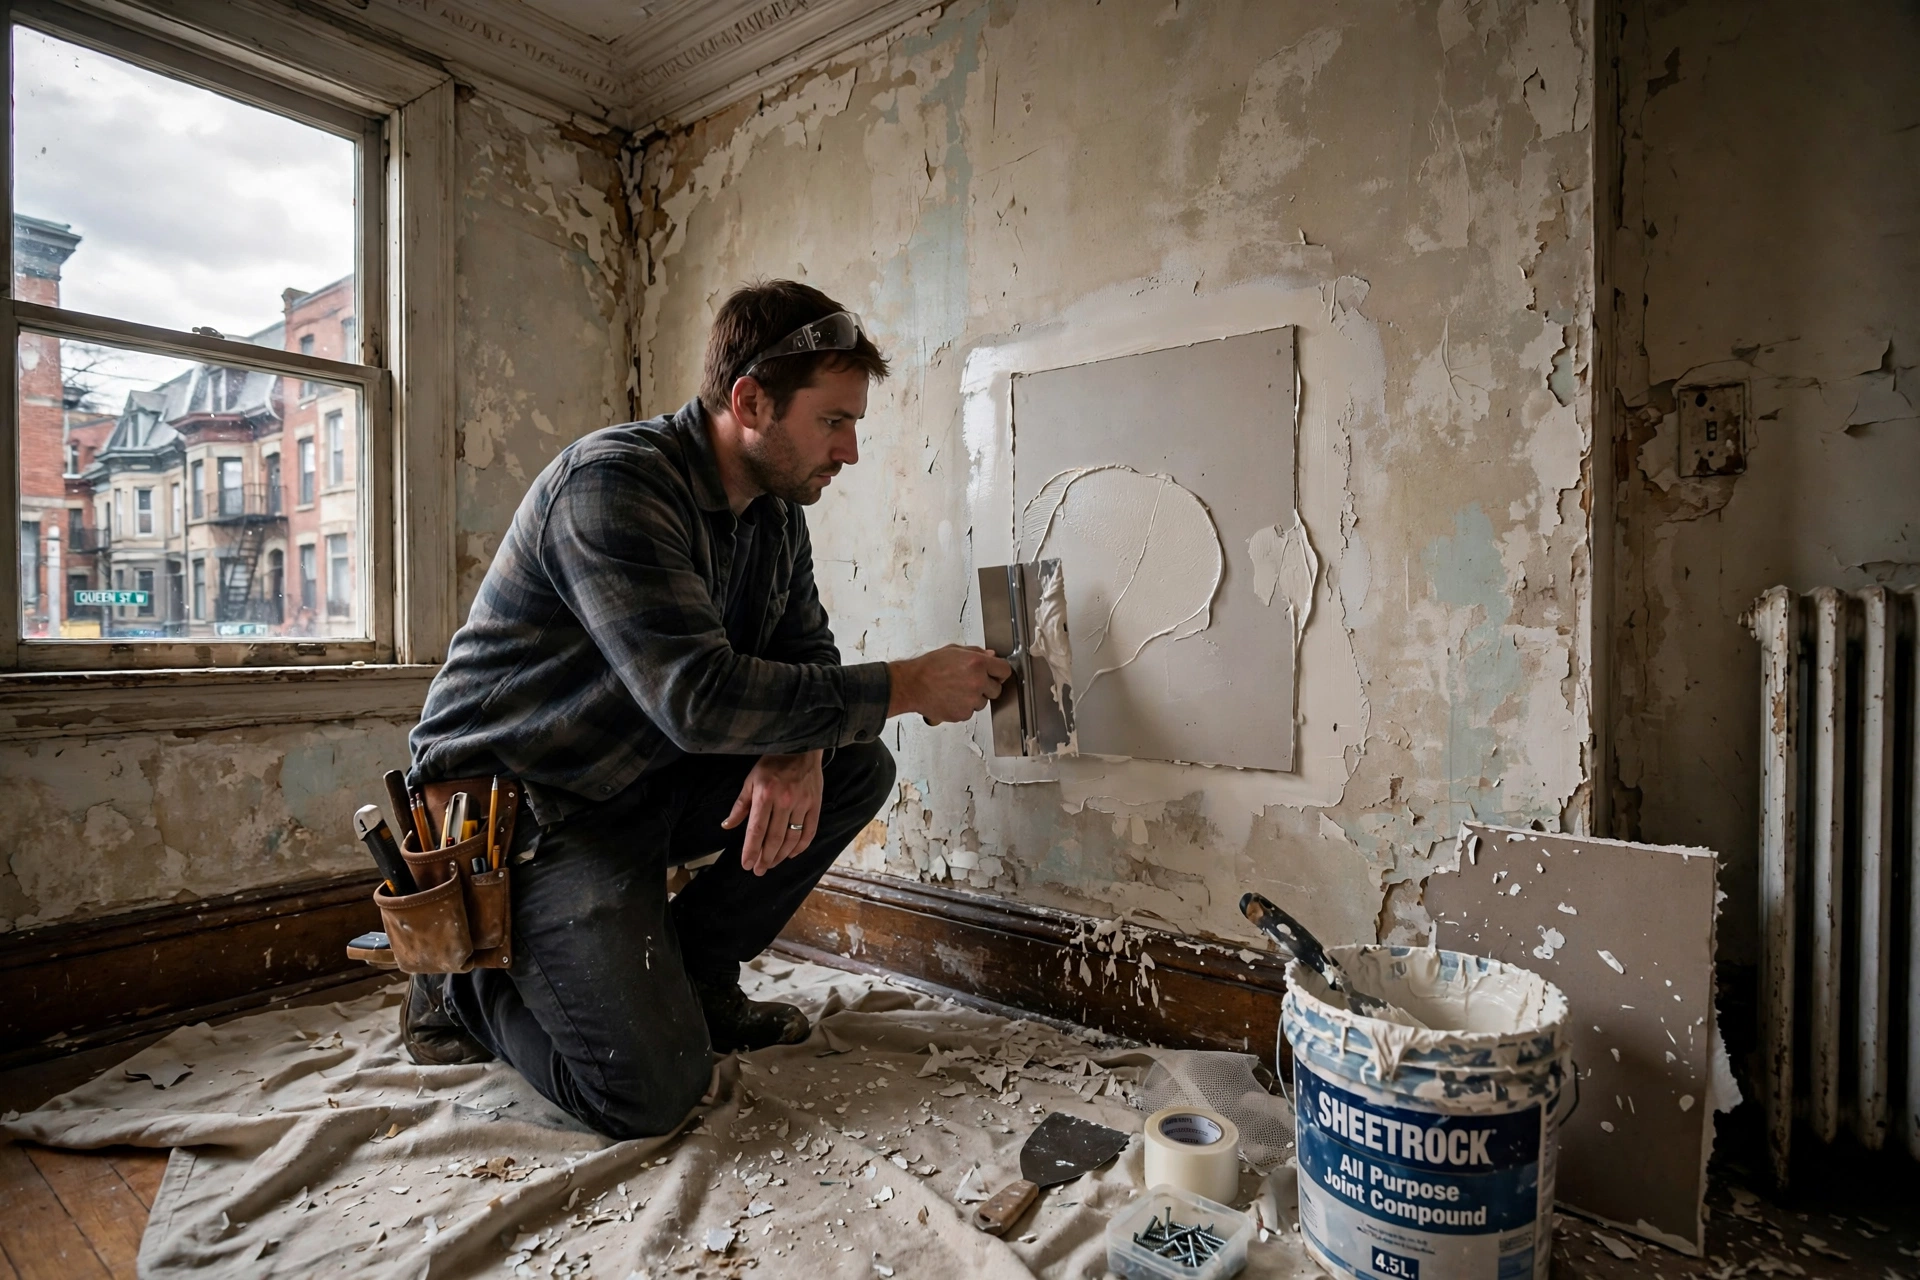
First, the loose material goes. Any plaster or board that moves, crumbles or sounds hollow around the damage is cut or eased back to where the wall is sound. That step feels destructive and is the opposite — it is what gives the patch something solid to hold to.
Next, the depth is rebuilt. A shallow crack may need only a proper fill and tape treatment designed for movement. A deeper loss is built up in layers, or backed and fitted with a piece of drywall cut to the opening and shimmed to sit at the right depth for the surrounding plaster, which is rarely the standard thickness of new board. In a Leslieville semi with wavy, hand-troweled walls, matching the plane of the existing wall matters more than making the patch perfectly flat — a dead-flat patch in a gently uneven wall shows just as clearly.
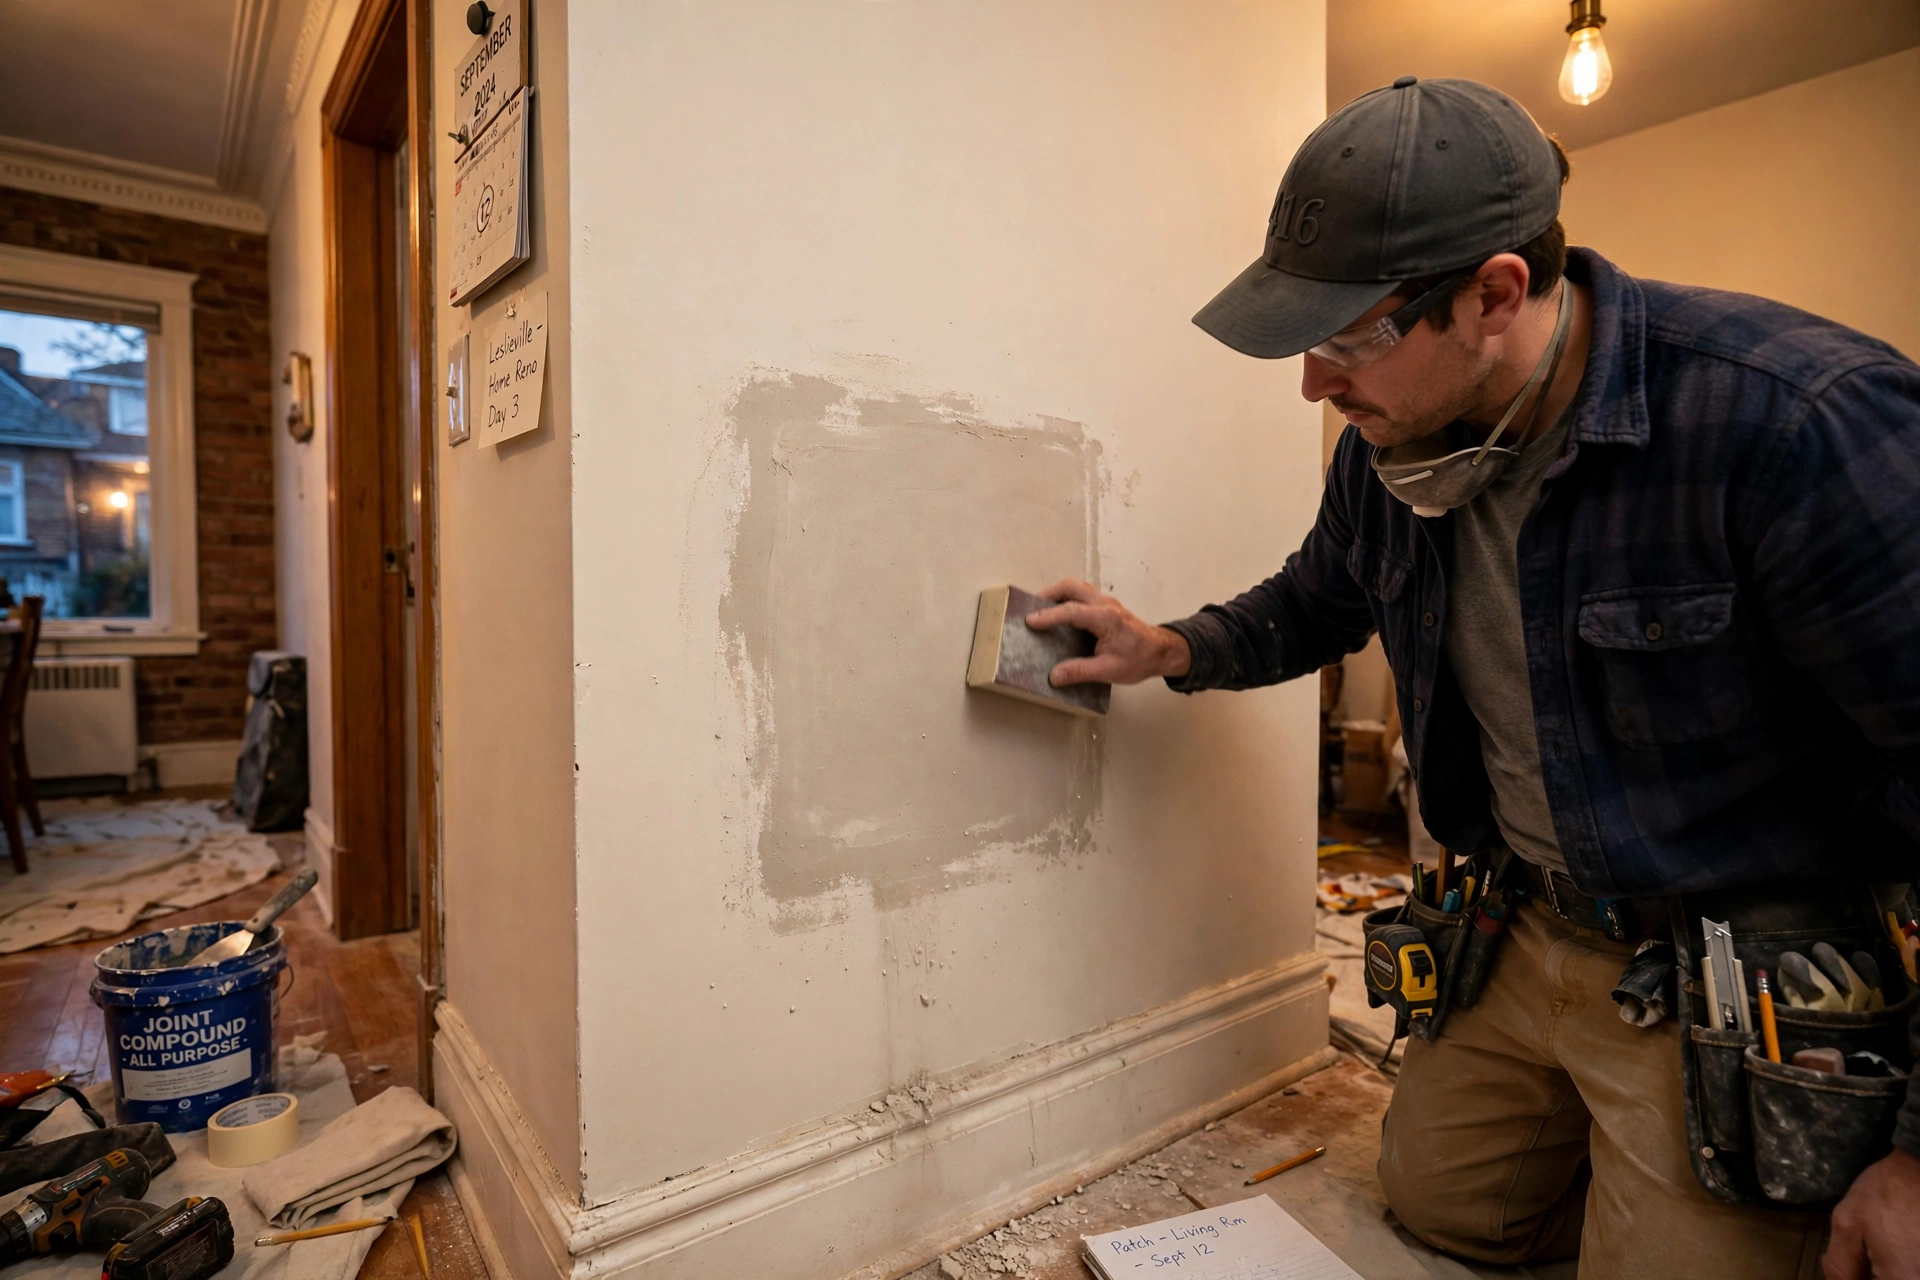
Then comes blending. Joint compound is feathered well beyond the repair, sanded, checked under a raking light — a lamp held close along the wall shows every ridge that flat room light hides — and sanded again if needed. Texture, where the original wall has any, has to be matched or softened across a wider area so the eye does not catch a smooth island in a lightly textured wall. Where trim, baseboards or picture rails meet the repair, neat finishing there is often handled alongside the wall work through carpentry services, so gaps at the woodwork do not undo the clean result on the wall itself.
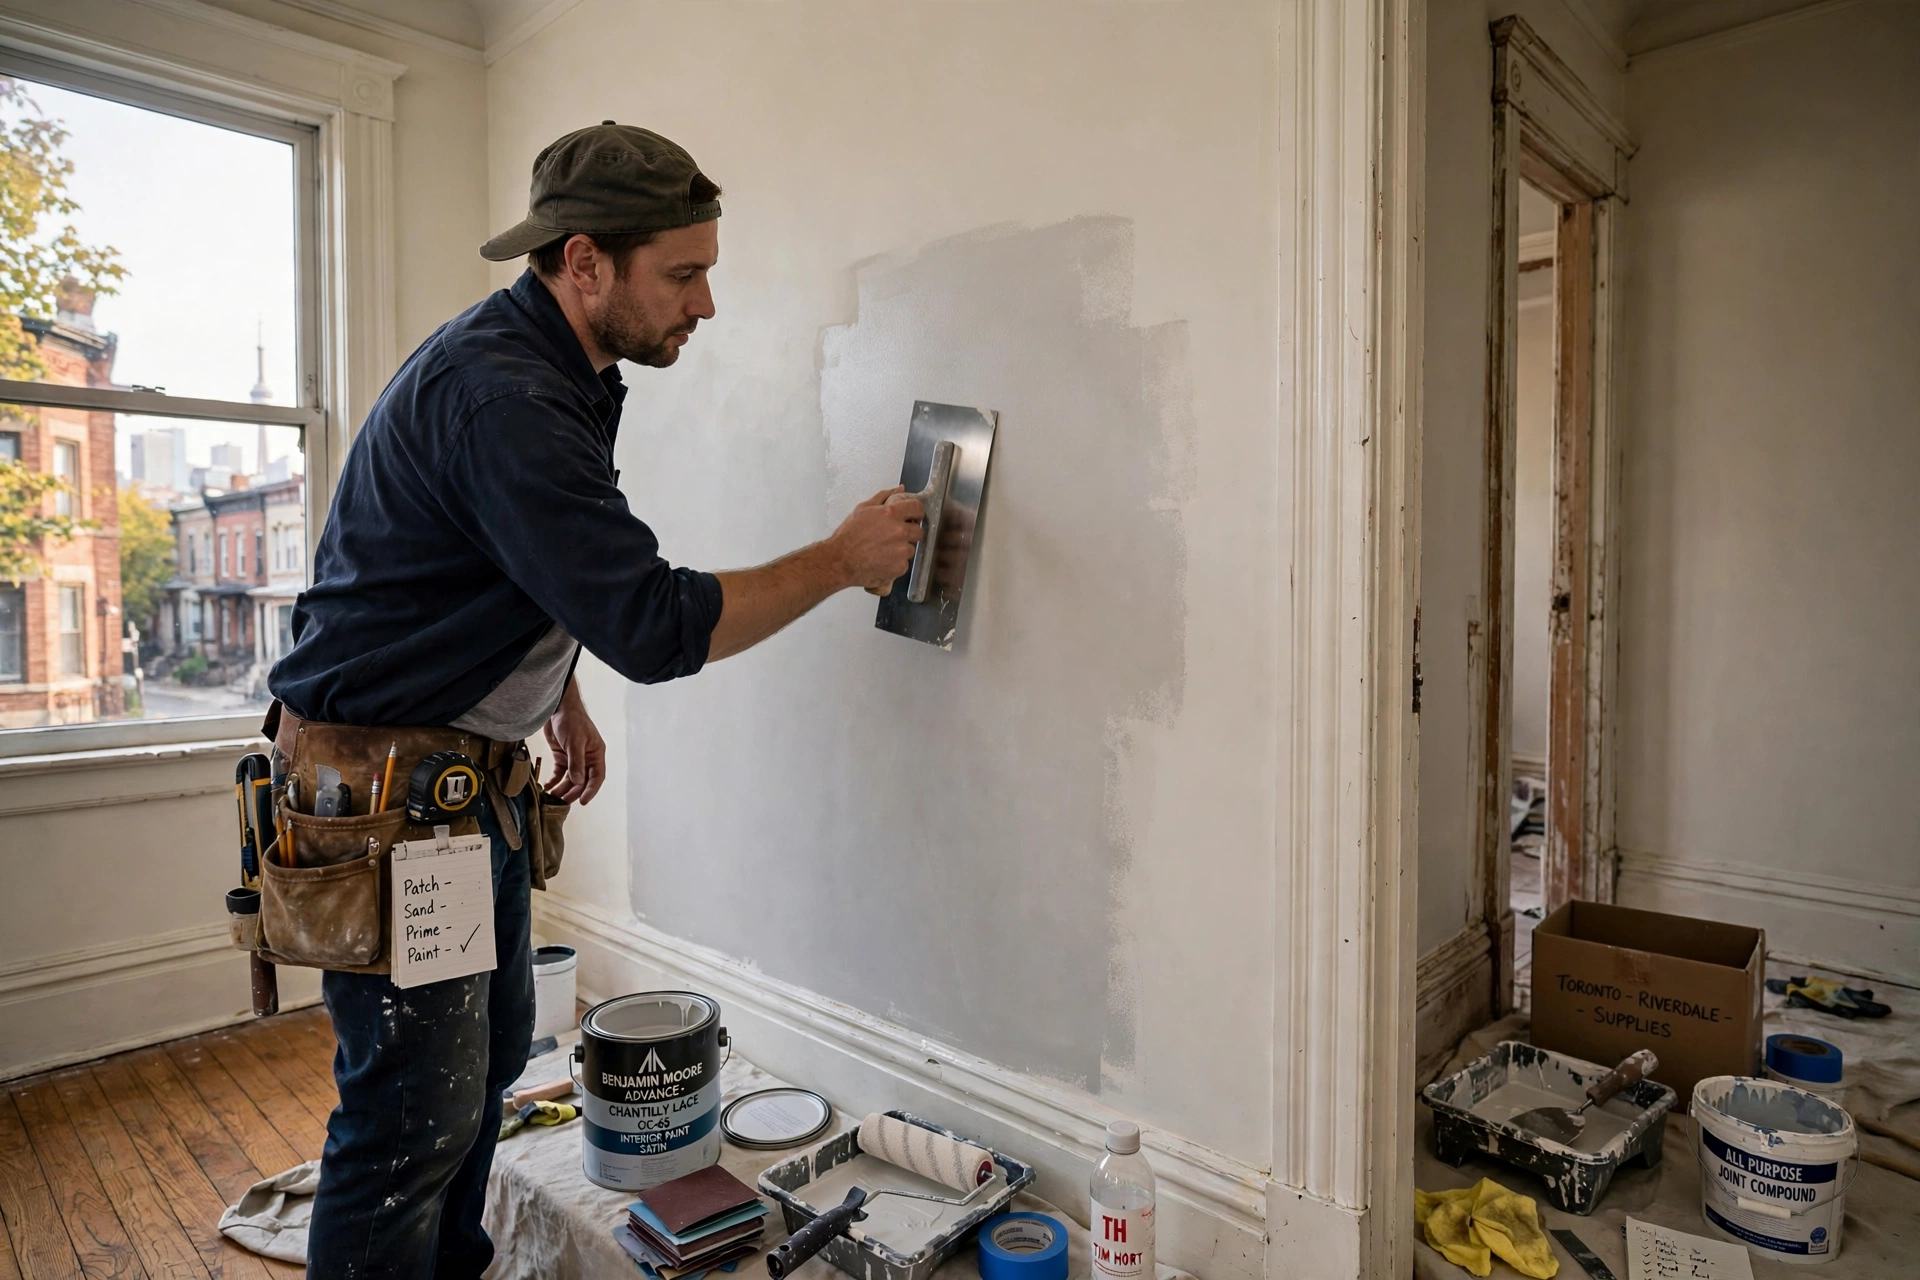
Finally, priming is not optional. Bare compound and old plaster absorb paint differently from the surrounding painted wall, and skipping a sealing primer is why a perfectly smooth patch can still show as a dull rectangle after painting. A primed patch, finished through painting services that feather the finish coat beyond the repair, is what makes the work disappear.
Rooms and moments when older homes need wall repair most
Some patterns repeat across downtown’s older streets. Stairwell walls in narrow semis take suitcase and furniture knocks on every move. Walls around original fireplaces in Riverdale and the Annex crack along the chimney breast as materials expand at different rates. Upstairs bathrooms in converted houses stain the ceiling of the room below at the first slow leak. And the weeks after a renovation elsewhere in the house — new doors hung, floors refinished — are when owners finally see every old patch and crack in the next room under fresh eyes.
There is also a seasonal rhythm. Cracks that open in the dry air of the heating season often partly close in a humid Toronto summer. Repairing a stable crack when it is at its widest, with materials and taping chosen to tolerate a little movement, gives a better result than filling it when it looks smallest and watching it reopen in January.
What affects the cost
There are no honest flat figures for plaster-era repair, because no two older walls hide the same thing behind the paint. What affects the cost is consistent: the size and number of repairs, since several patches in one visit share the setup, dust protection and return trips for drying coats; whether the wall is modern drywall, sound plaster, or detached plaster that must come back to a firm edge; the depth that has to be rebuilt and the number of coats and sanding passes that takes; whether water is involved, because source-finding and drying time change the job entirely; matching texture and finish so the repair blends into a hand-troweled wall; and access and protection in a finished, lived-in older home — narrow stairs, original floors and trim all need covering and care that add time. Clear photos, and a note on whether the area is stained, cracked or hollow-sounding, help produce an accurate quote before anyone opens a wall.
A short checklist before you book
- Tap around each crack or hole — note where the wall sounds hollow or feels soft, not just where it looks damaged.
- Photograph stains and measure cracks, then check again in a few weeks if you can: growing damage needs a closer look first.
- Deal with any active leak, roof issue or plumbing drip before booking the wall repair itself.
- Note the age of the house and any textured coatings you do not recognize — raise it when you book rather than after cutting starts.
- Batch the patches room by room into one visit, including the priming, so the finish blends properly.
An older downtown home’s walls carry its history — a century of settling, heating and small knocks. Repaired with respect for what those walls actually are, a patch should carry none of it visibly: no dip, no ring, no rectangle in the paint, just a wall that looks like it was never damaged.
Looking at a crack, hole or stain in an older downtown home? Call Peter at 289-814-7733 or send photos through our contact page to get it assessed.